
After many days of hard work and waiting on the weather, I am happy to announce that the first segment of the main trail is now complete!
In case you missed it! I wrote a blog article about Scouting, and Planning The Main Trail a couple weeks ago. It might be a good idea to start there first if your following along.
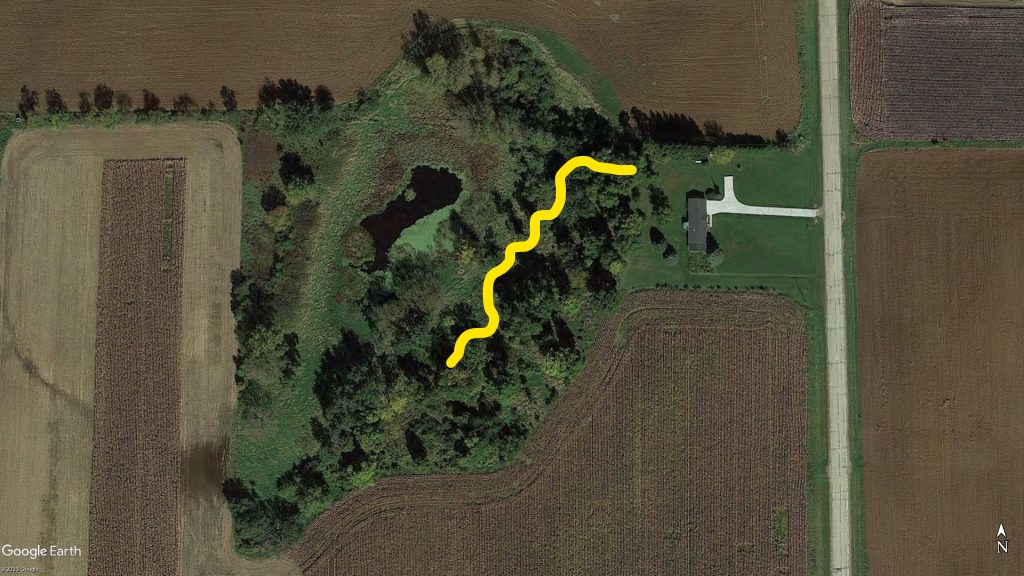
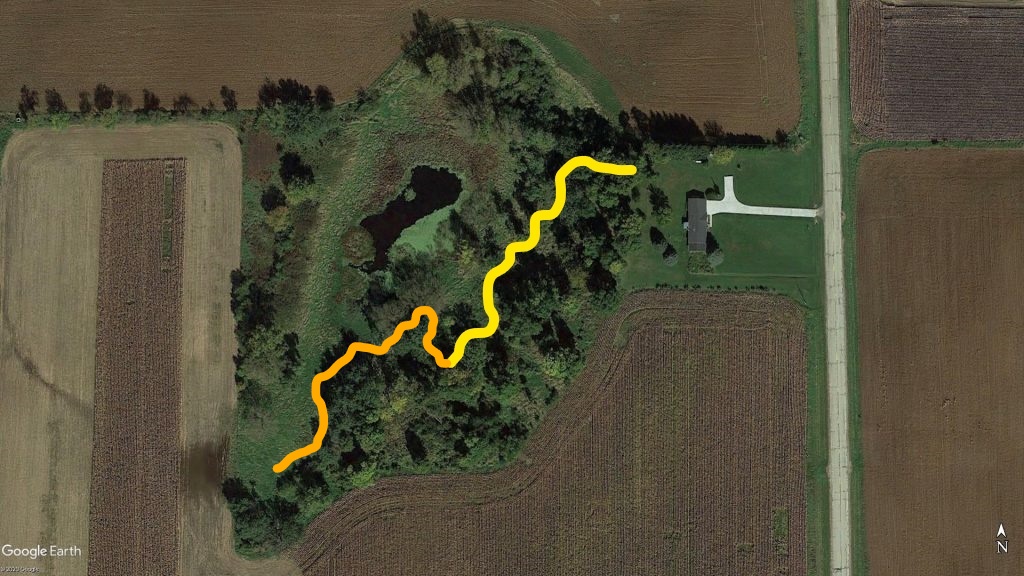
In the photo above marked in yellow you can see what was the planed first part of the main trail. Although my drawing skills might not be exact the main trail turned out pretty close.
Let me see, where to begin?
The Proper Tools for The Job

Once I had the first segment of the main trail all scouted and planed, it was time to gather the proper tools for the job.
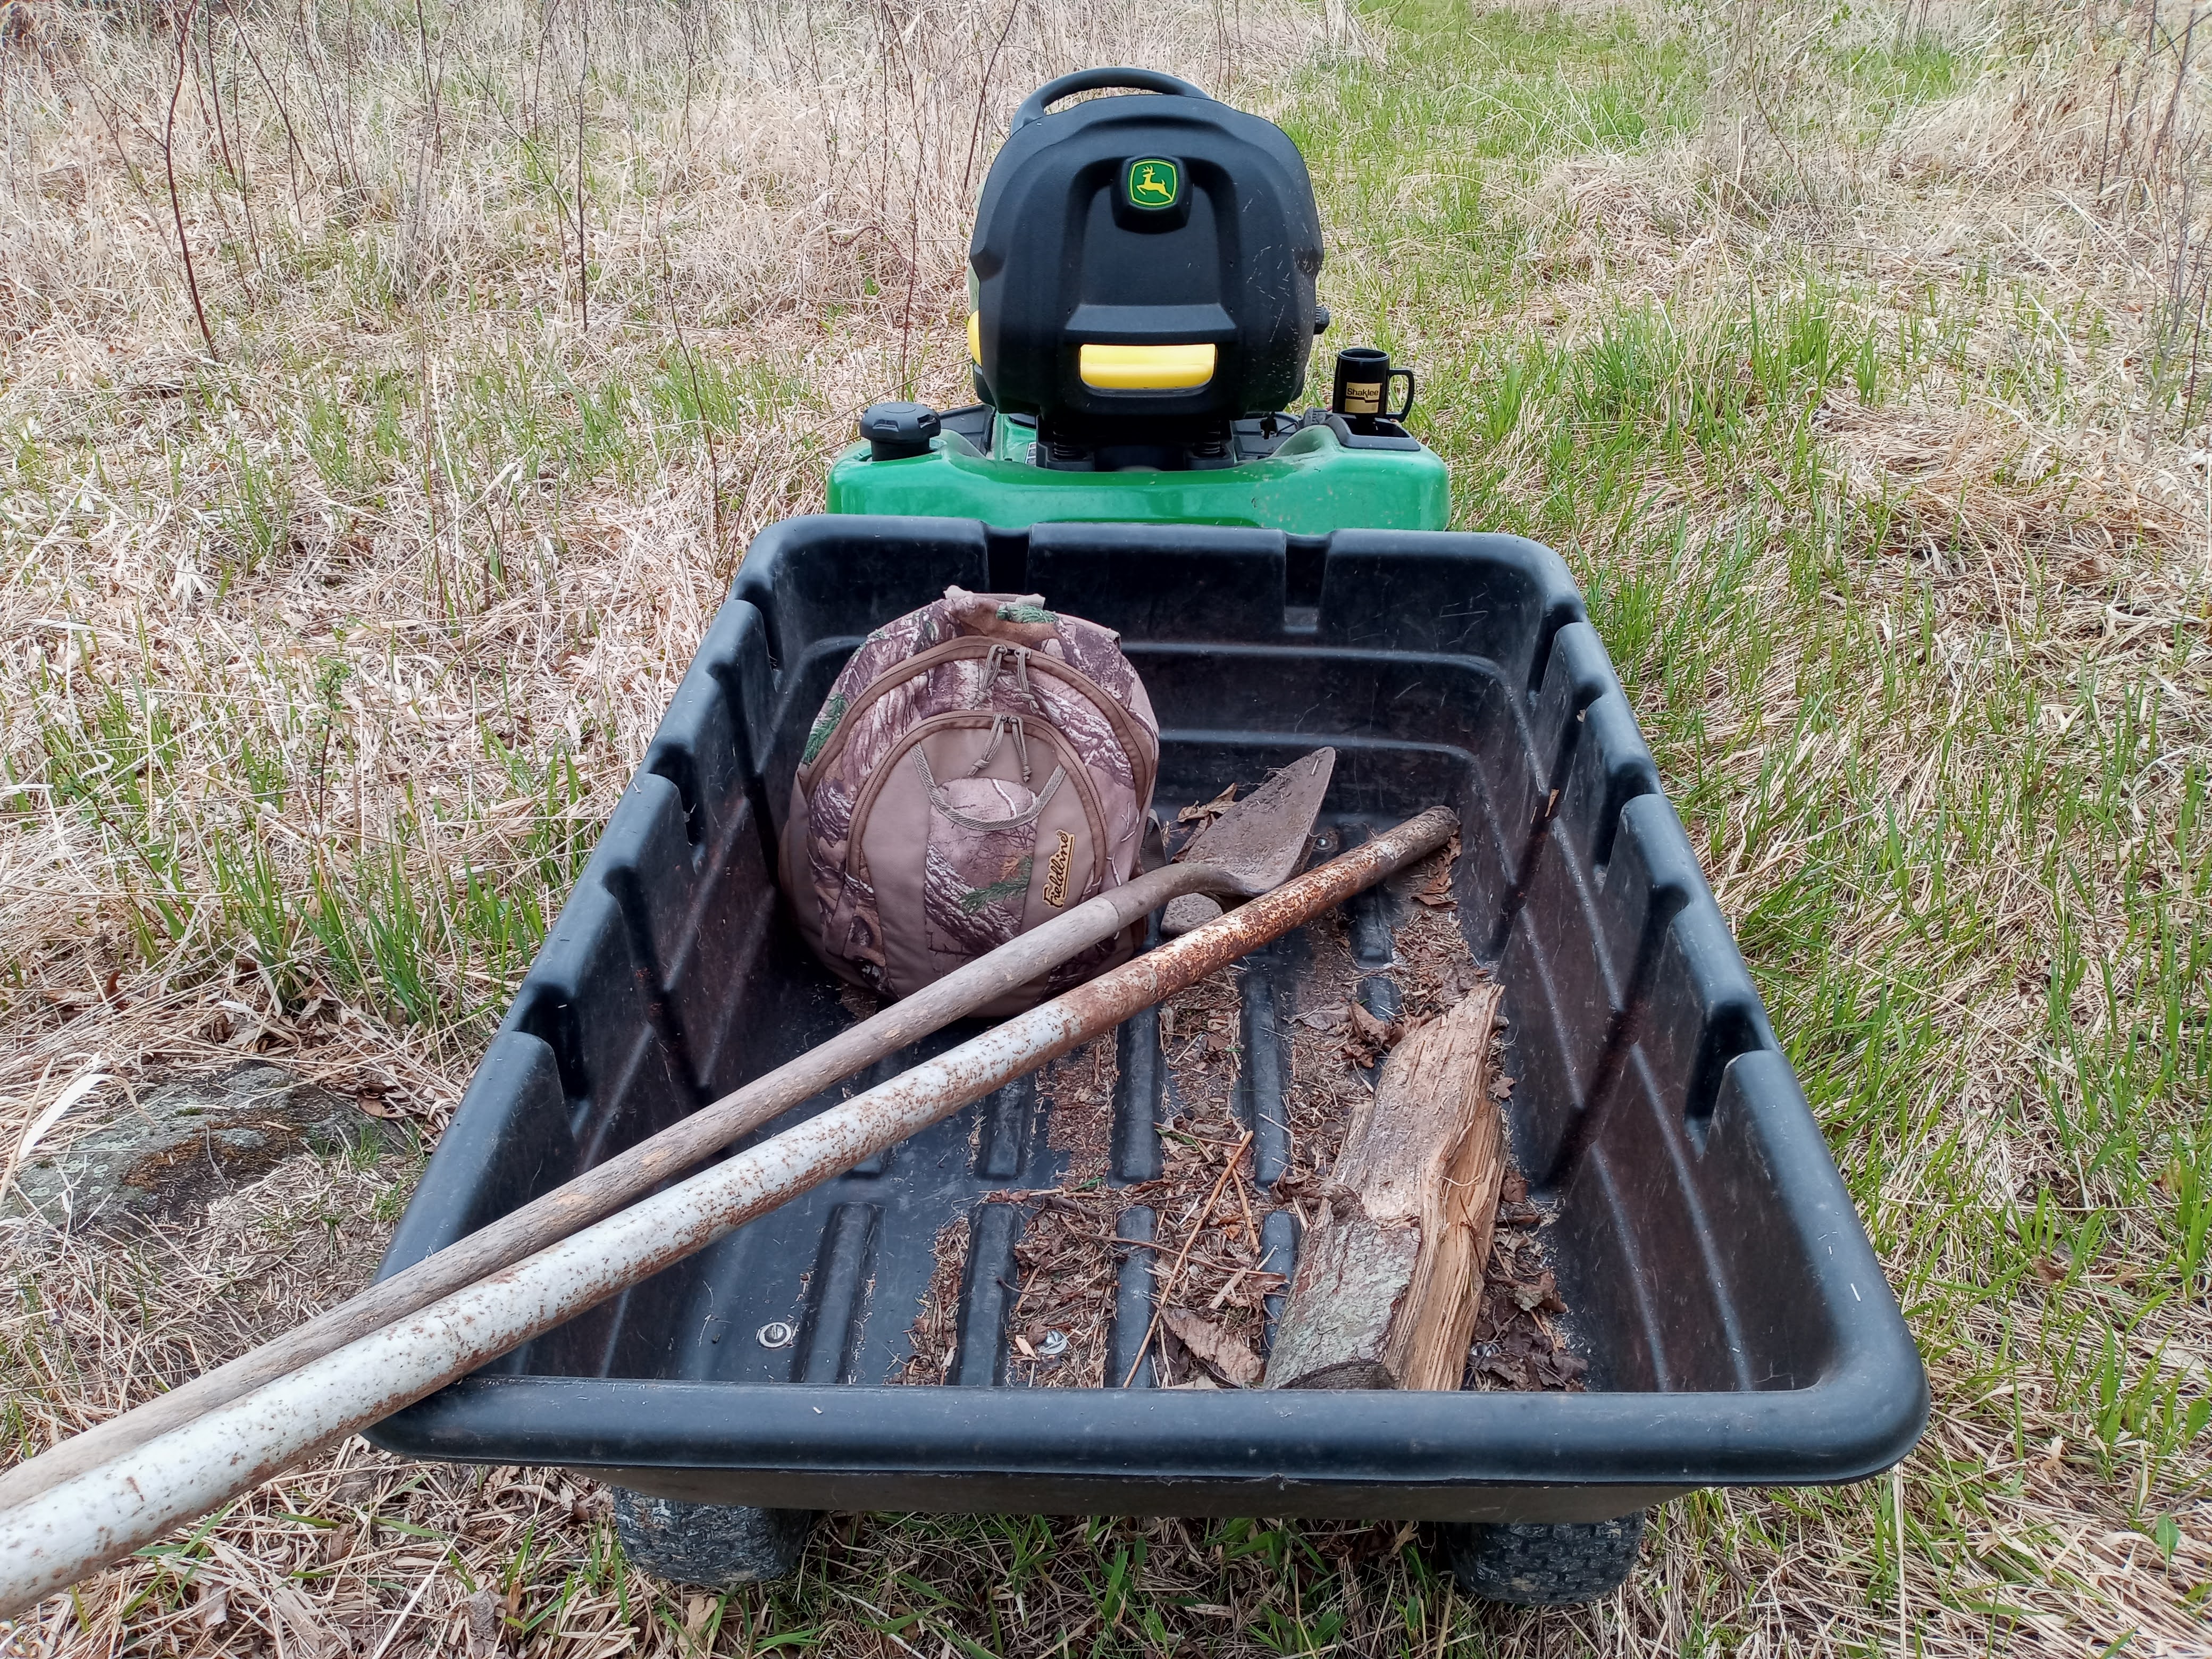
So I got on our tractor, hooked up the wagon, found an old heavy long steel pipe and a split log for prying and leverage, a shovel for digging, a backpack full of essentials (camera gear, extra sweatshirt, work gloves, etc… ) and got to work!
Clearing The Planed Trail
I started by placing one of my cameras on a tripod as a marker (and to film me) in segments every 20 to 40 yards (18.288 to 36.576 meters) ahead of me.

Then I would walk every square inch of the planned segment, clearing large fallen sticks and branches, and marking where all the boulders were all the way back to the tractor.
Mowing The Trail
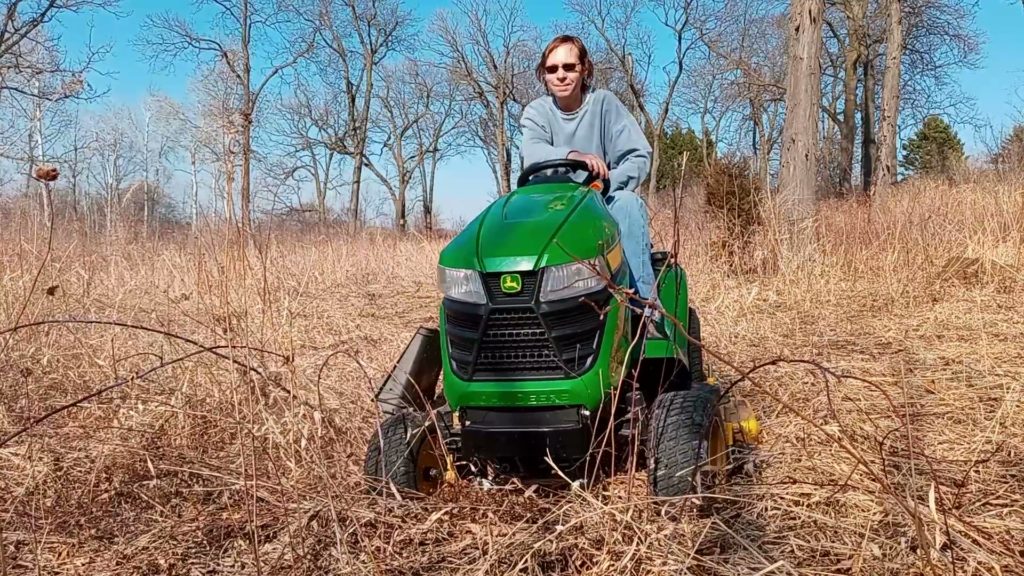
After that I would slowly and carefully mow up to my camera, and then repeat until I got to the end of the first part of the planed main trail. Then I turned around, and did the same on the other side all the way back to the start of the trail.
Remember I am making the trail 8 feet (2.4384 meters) wide, that’s 2 widths of the lawnmowers 4 foot (1.2192 meters) wide cutting deck.
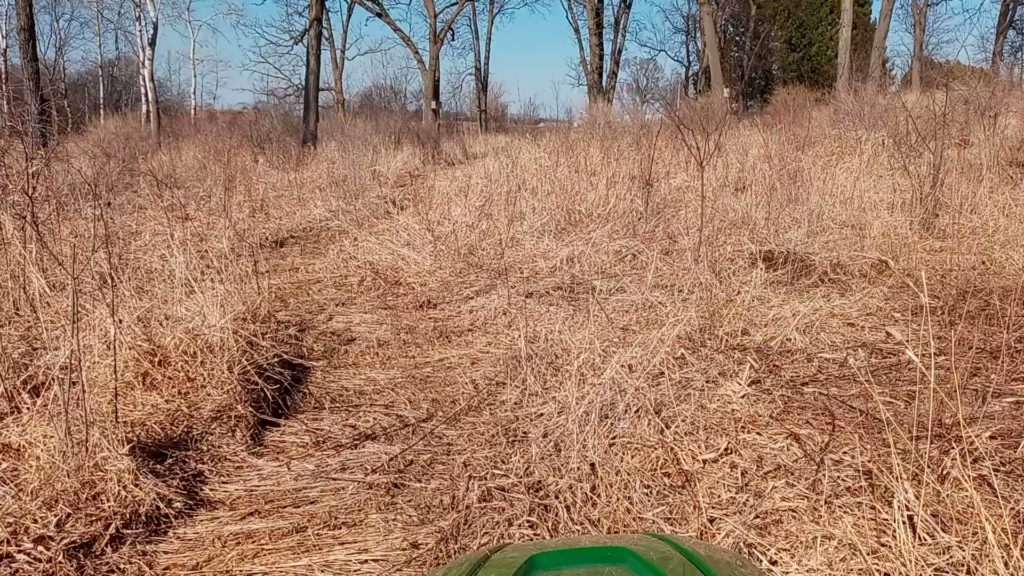
The trick to mowing a trail in the wild is to put your lawnmower deck up as high as it can go, and then drive very slowly and cautiously as you cut. You can always slowly bring down the trail grass height over time if that’s what you want to do.
I carefully mowed around all of the boulders that lied in the trail rout. It just seemed easier to to move them last after all the tall dead vegetation leftover form last year was removed.
Moving Boulders
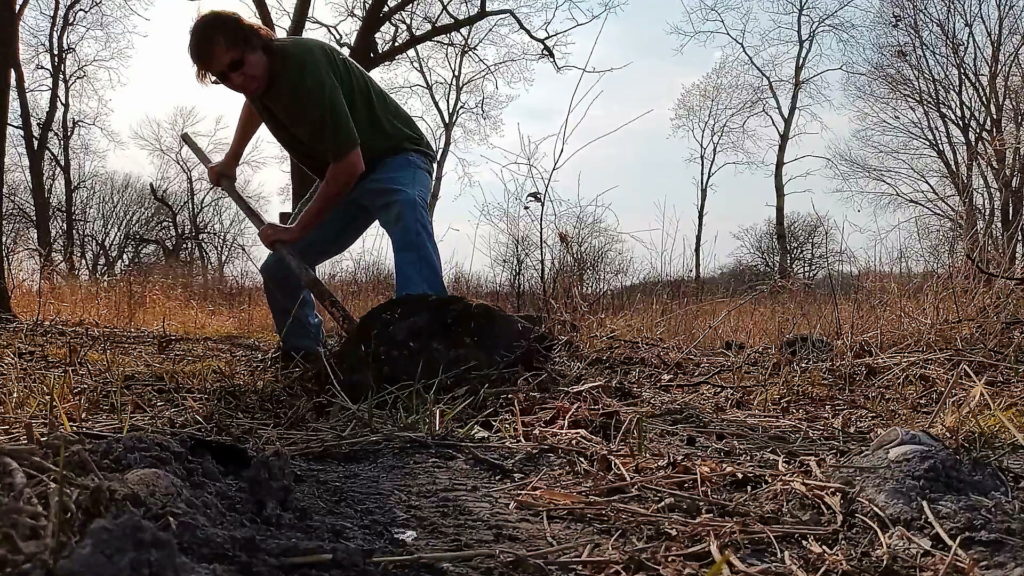
Please don’t attempt to try and do this by yourself. I am because of the Covid-19 pandemic, and I didn’t want to risk anyone else’s health by recalling old favors. I’m also pretty healthy for my age! I eat a healthy Vegan/Vegetarian diet, take vitamins and food supplements, and I get plenty of year round exercise.
When it comes to heavy lifting like moving boulders, work smart not hard! Leverage is your friend! You only have one back, you know!
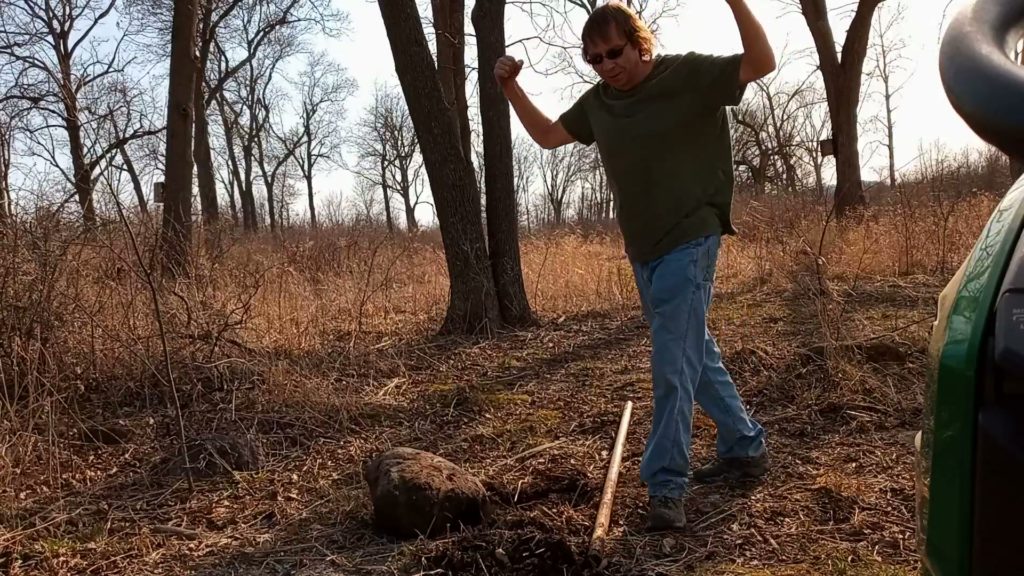
Getting the boulder out of the ground is the hardest part of moving them.

Once out of the ground they roll pretty easily. Just remember to always lift with your legs.
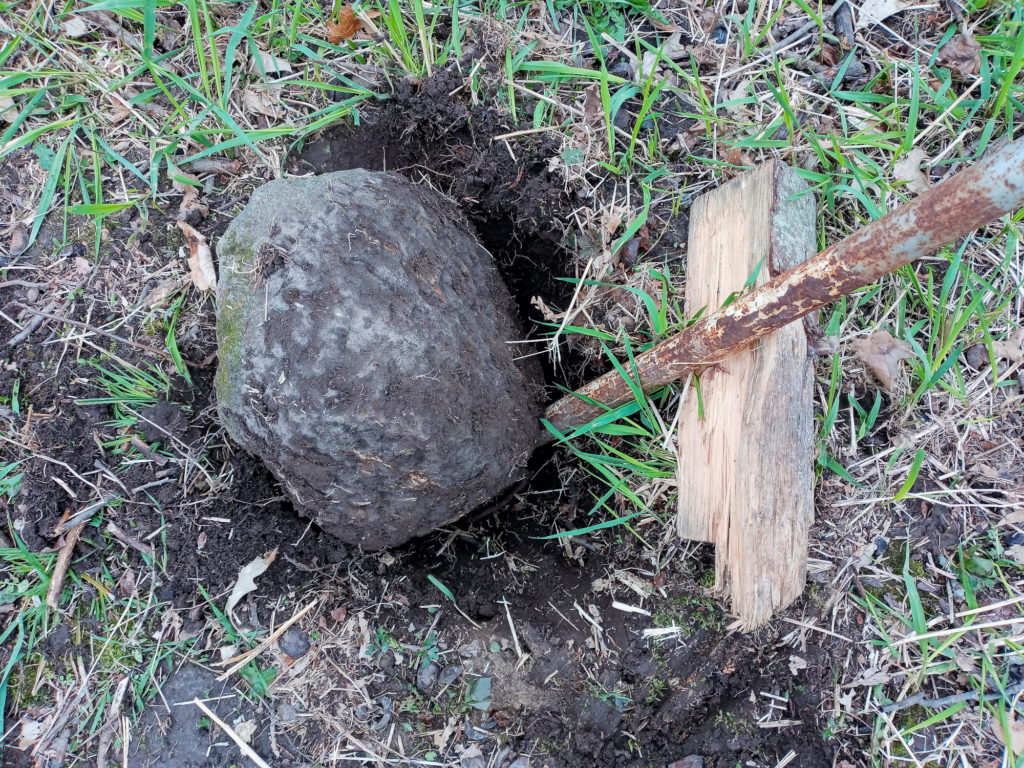
I will usually start by digging out around the top of the boulder and then loosen it a bit with the pry bar just to get a good idea of its size. They are usually much bigger than what you think they will be!
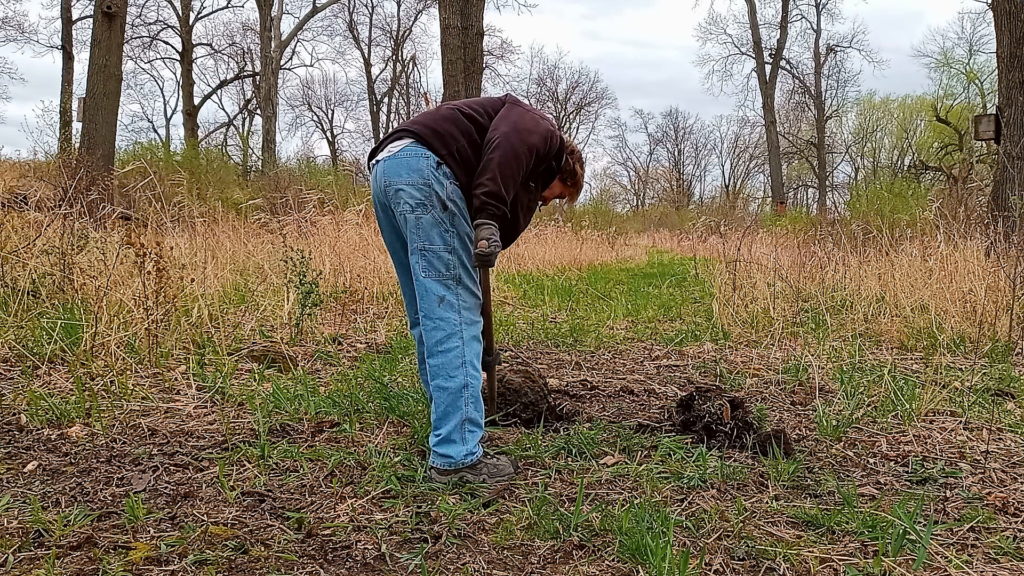
Then I will dig a sloping ramp down to the base of the boulder in the direction that I want it to go. This makes it much easier to get the boulder out of the ground!
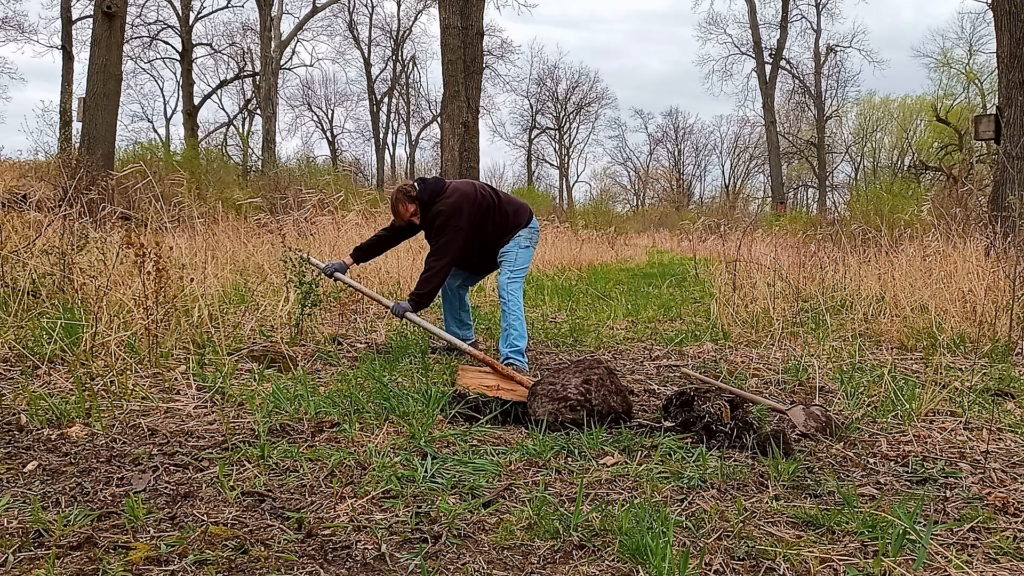
After the ramp is dug I will then use my pry bar and split log as a lifting and pushing system to inch the boulder up the ramp and out of the hole. Using leverage like this only requires me to use about 25% of my body weight with downward and outward pressure to get a 300 pound (136.078 kilogram) boulder out of a deep hole.
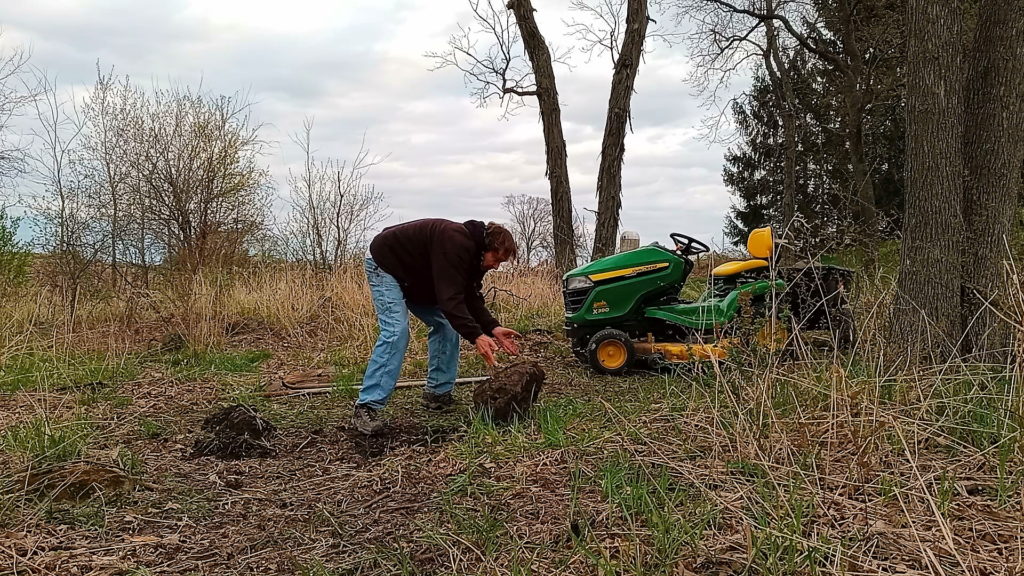
Once the boulder is out of the hole, then it’s just a matter of simply rolling it to it’s new home.
Filling Holes
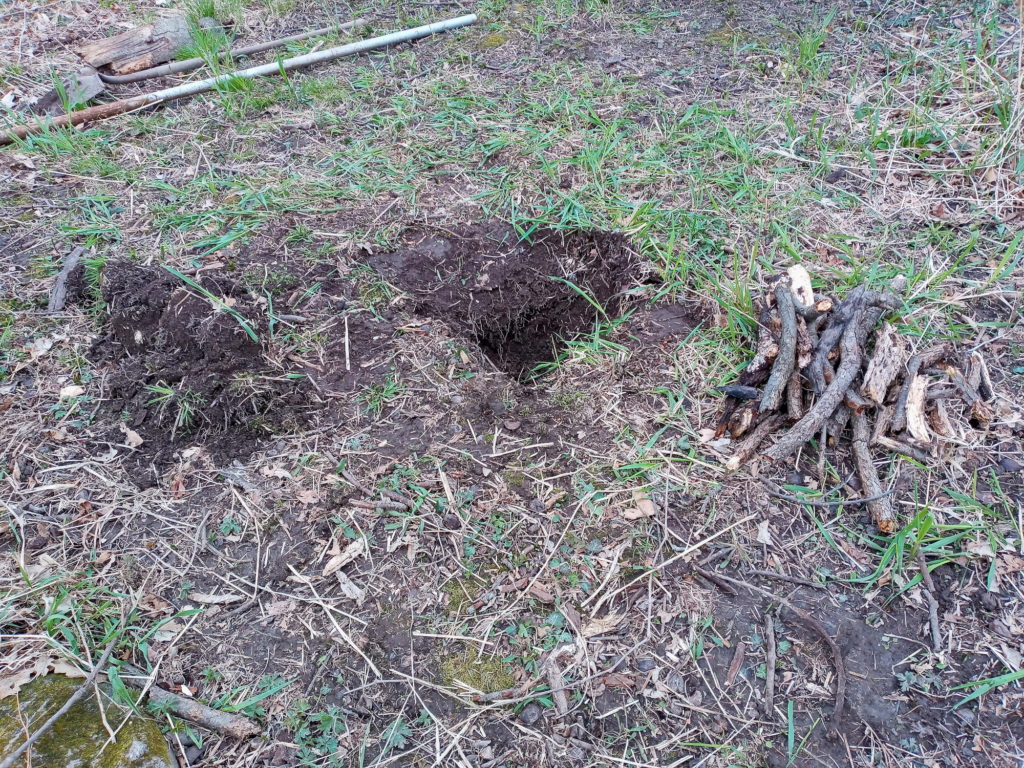
After you have remove a boulder from the ground you will find that you don’t have enough leftover dirt to fill the hole with.
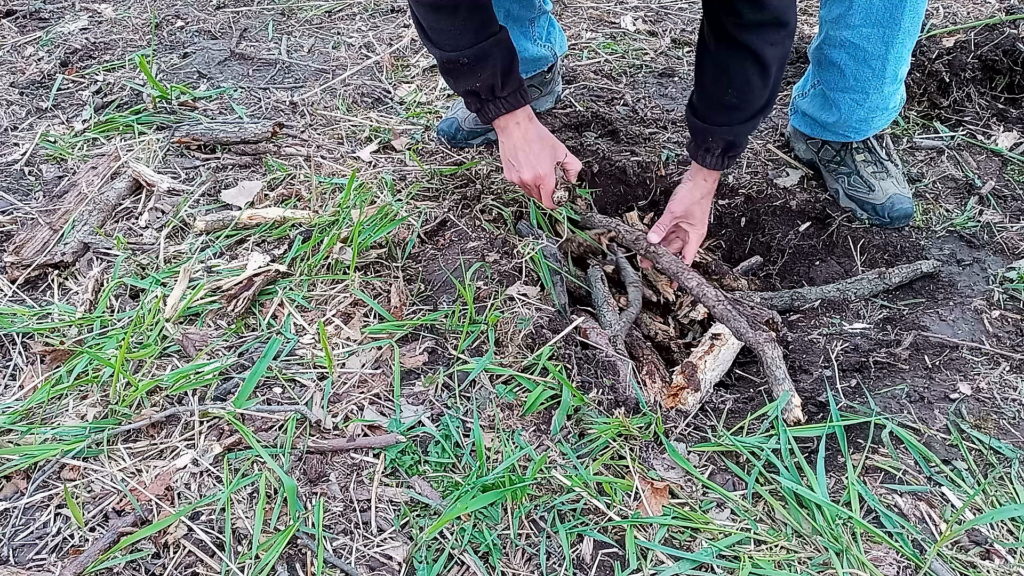
Instead of digging up dirt from one location to fill another. I like to gather a bunch of dead fallen branches and bark to fill the hole with. Then cover it up with whatever soil is left.
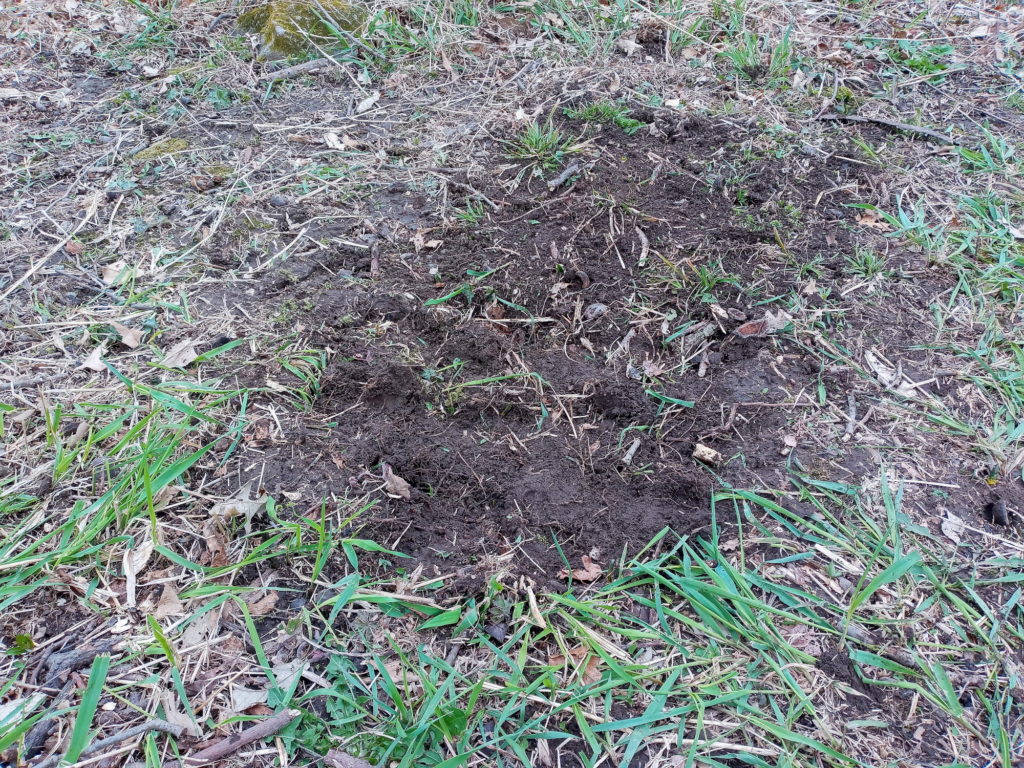
This will act as a nutrient rich wet sponge as the wood decomposes, and turns into soil. The same method can be used to help fill taller raised garden beds.
Success
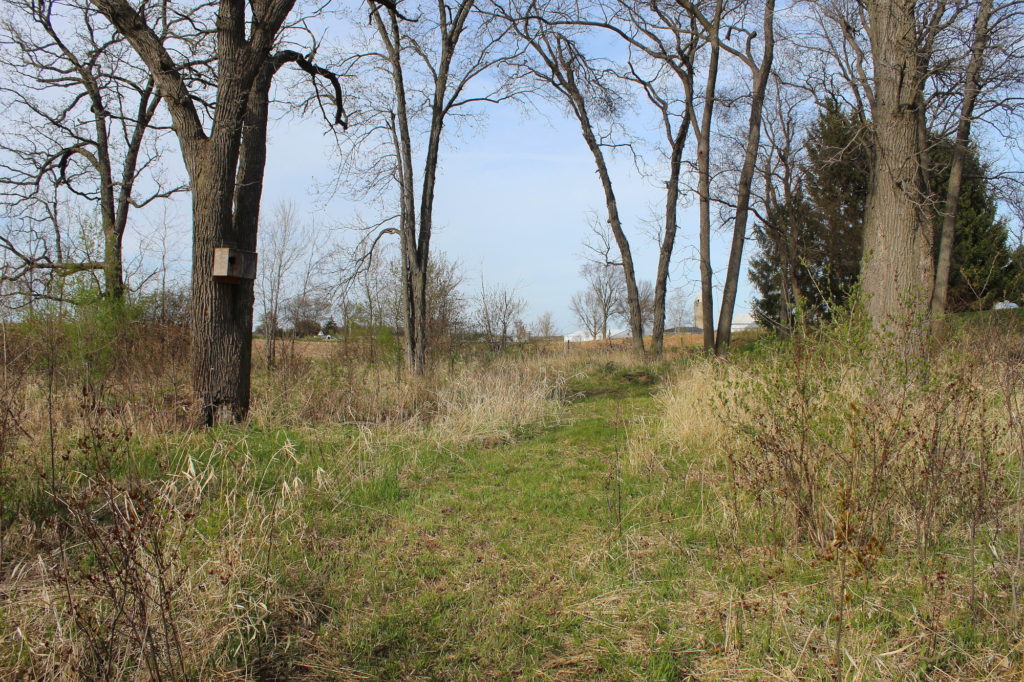
Well, here it is! It’s kind of hard to see it from the photos this time of the year, but once everything is lush and green again the trail will be more defined.
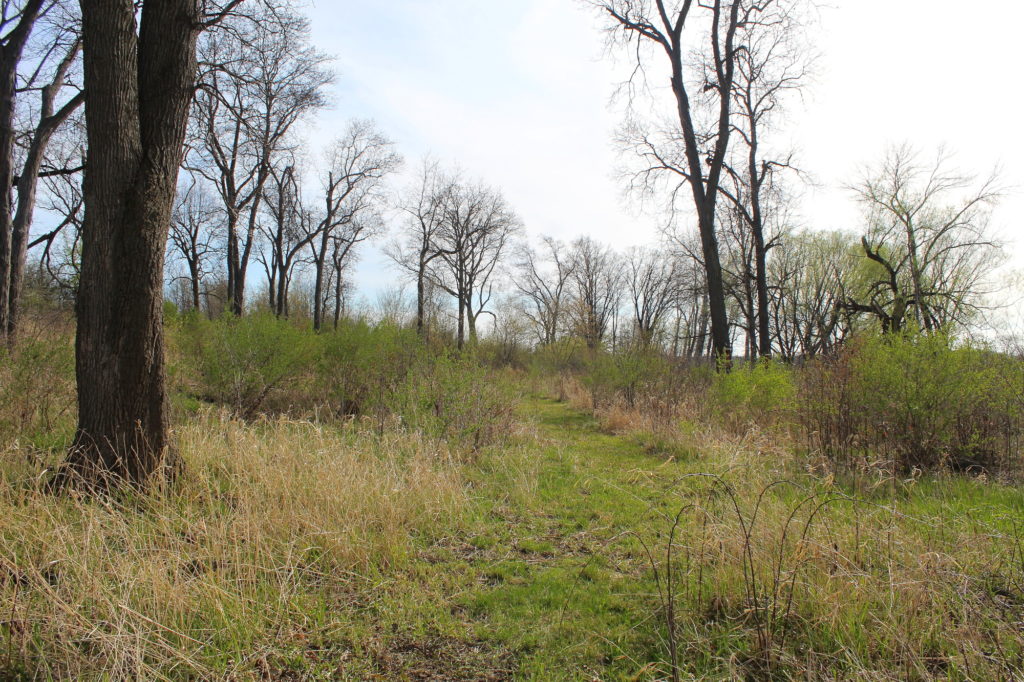
I tried to make it as imperfectly perfect as nature itself.
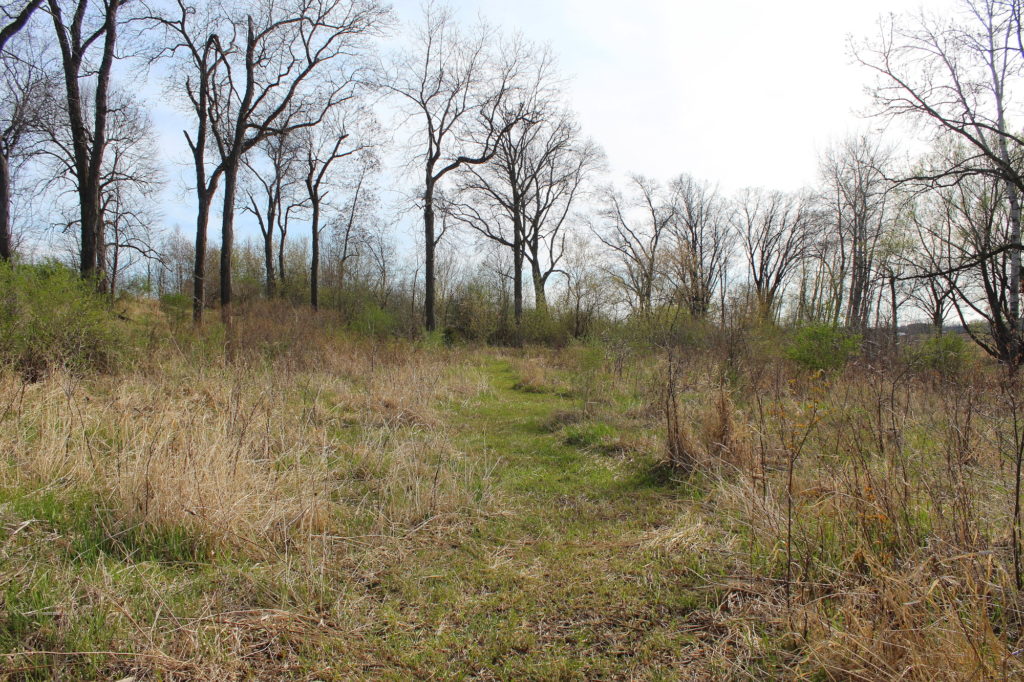
It’s as flat and level as I could get it, and everything I did can be easily reversed by simply letting it all grow back if I ever decided to do so.
Coming Soon
Now that the first part of the main trail is complete it’s time to get started on the second part!
This will involve the use of a chainsaw since there are some large dead fallen trees blocking the second part of the main trail rout.
So stay tuned, and thank you for reading!